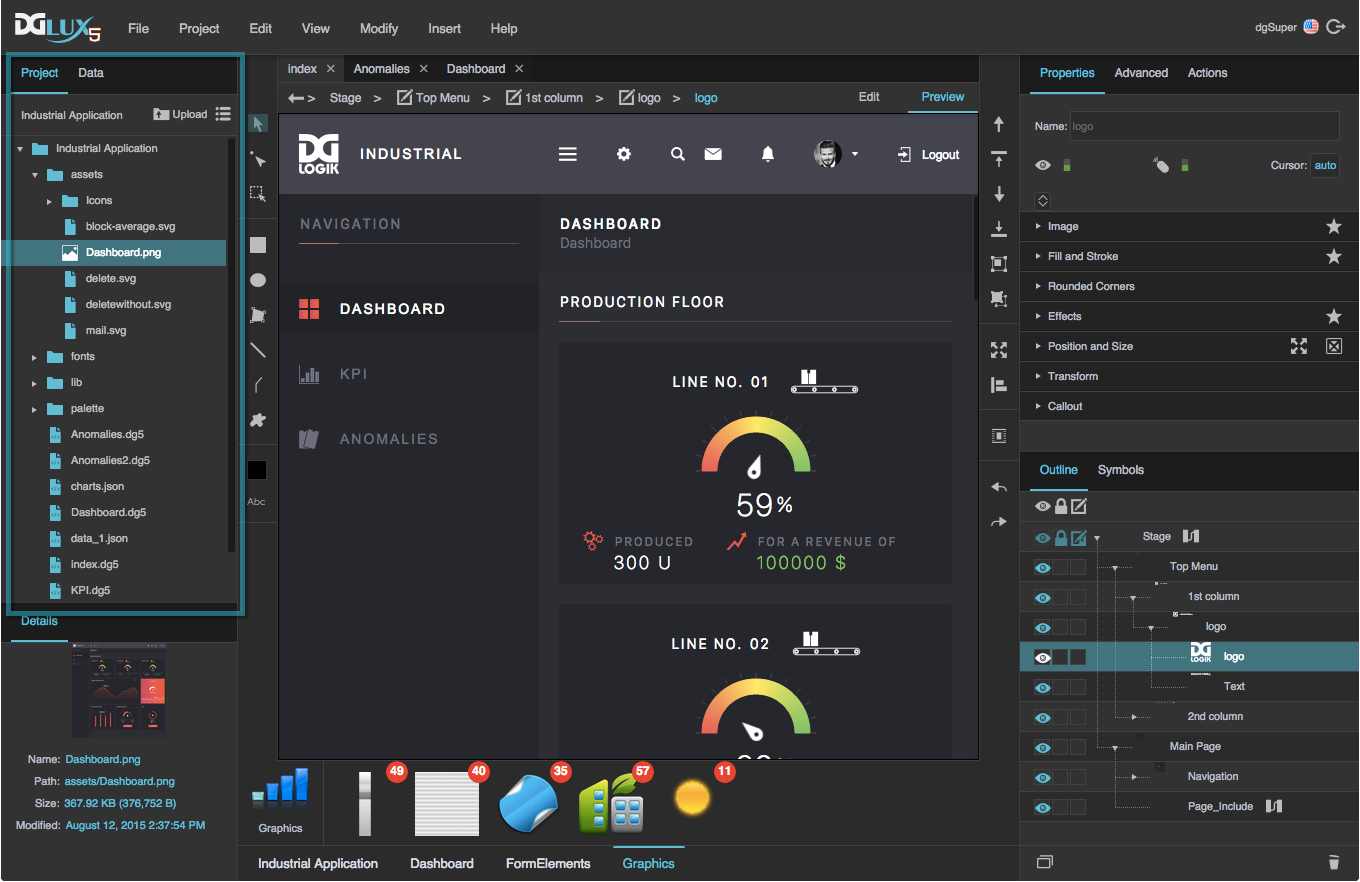
Project Panel
The Project panel contains the file structure of your project. By default, it is at the top left corner of the DGLux5 workspace.
The location of the Project panel
The Project panel contains the project's DG5 files, as well other files used by the project, such as images, data files, and fonts. The structure of the project includes three important project directories called assets, lib, and palette. If your project contains fonts that are not in the default fonts set, the Project panel also contains a fonts folder. You can create additional folders and sub-folders to organize your file structure.
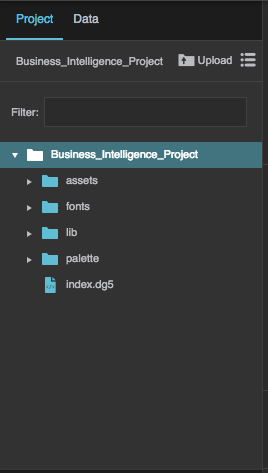
The Project panel
Create Folders
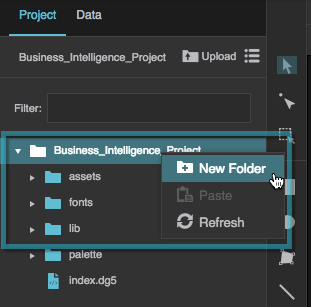
These steps show you how to create folders in the project.
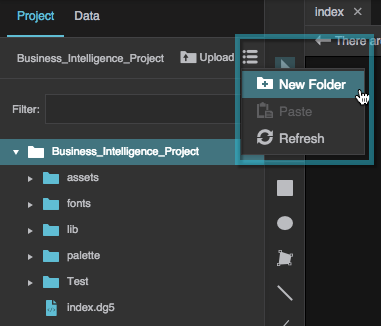
In the Project panel, right-click the folder that you want to be the new folder's parent.
This can be the root directory of the project, or some other folder.
Choose New Folder.
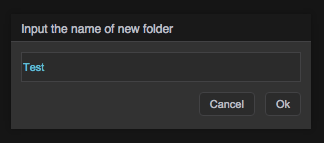
Type the new folder's name, and click OK.
- If the new folder does not appear right away, click
 Menu and select Refresh to refresh the contents of the Project panel.
There are two alternative ways to create new folders. First, you can select the parent folder, and then click Menu at the top of the Project panel and choose New Folder. Then, follow steps 3 and 4 above.
Secondly, you can use the File Manager:
- In the Main Menu, select File > File Manager.
- Follow the steps above, using the File Manage instead of the Project panel.
Delete Files or Folders
These steps show you how to delete files or folders from the project.
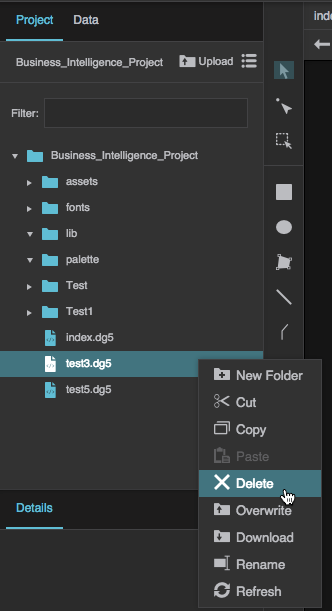
In the Project panel, select the files or folders that you want to delete.
Tips
- Click an item to select it.
- Hold the Shift key and click a second item to select both items and all of the items in between.
- Hold the Ctrl or Command key and click an item, in order to change whether that item is part of the selection.
- You cannot select items that are children of different parents.
- Do one of the following:
- In the Project panel, click Menu, and choose Delete.
Right-click on the selected item or items, and choose Delete.
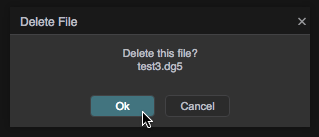
Click OK in the confirmation dialog.
Upload Files
These steps show you how to upload one or more files to the project.
- Do one of the following:
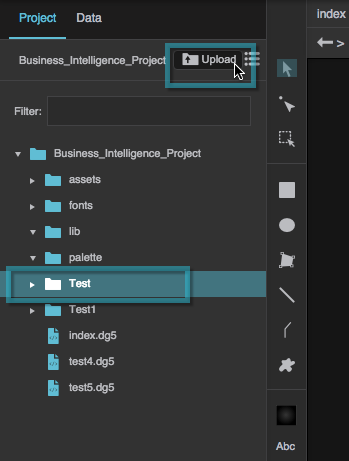
Select the folder in the Project panel you want to add files to, and then click
 Upload and specify the files to upload to this location.
- Drag one or more files from your computer file system directly over the folder in the Project panel that you want to upload to.
- Drag one or more files from your computer file system directly into the DGLux5 Document window. If the file is an image, it is uploaded to the
assetsfolder and also added to the Stage as an image component. Other files are added to the root directory of your project.
Click OK in the confirmation dialog.

Download a File
These steps show you how to download a file that is part of the project.
- Select the file in the Project panel.
- Do one of the following:
- In the Project panel, click Menu and choose Download.
- Right-click on the selected file, and choose Download.
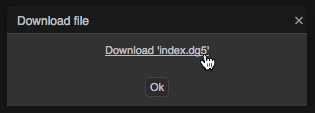
In the Download file dialog, click Download <Filename> to download the file.
- Click OK to close the dialog.
Rename a File or Folder
These steps show you how to rename a file or folder in the project.
- Select the file or folder.
- Do one of the following:
Right-click on the selected file, and choose Rename.

- In the Project panel, click Menu and choose Rename.
Type the new name in the dialog, and click OK.

Important
To ensure that components load asset paths correctly, avoid file names that contain the symbols #, (, or ). Rename these files in DGLux5, or rename them before you upload them.