Callouts
A callout is a instance of a symbol that is connected to a target object. A callout can be static, in which case it always appears when the target object appears, or it can be triggered to appear based on user interaction.
Callouts are often used as labels that display key information about an object. However, the callout functionality in DGLux5 can also be used to create other effects, such as drop-down menus and pop-up dialogs.
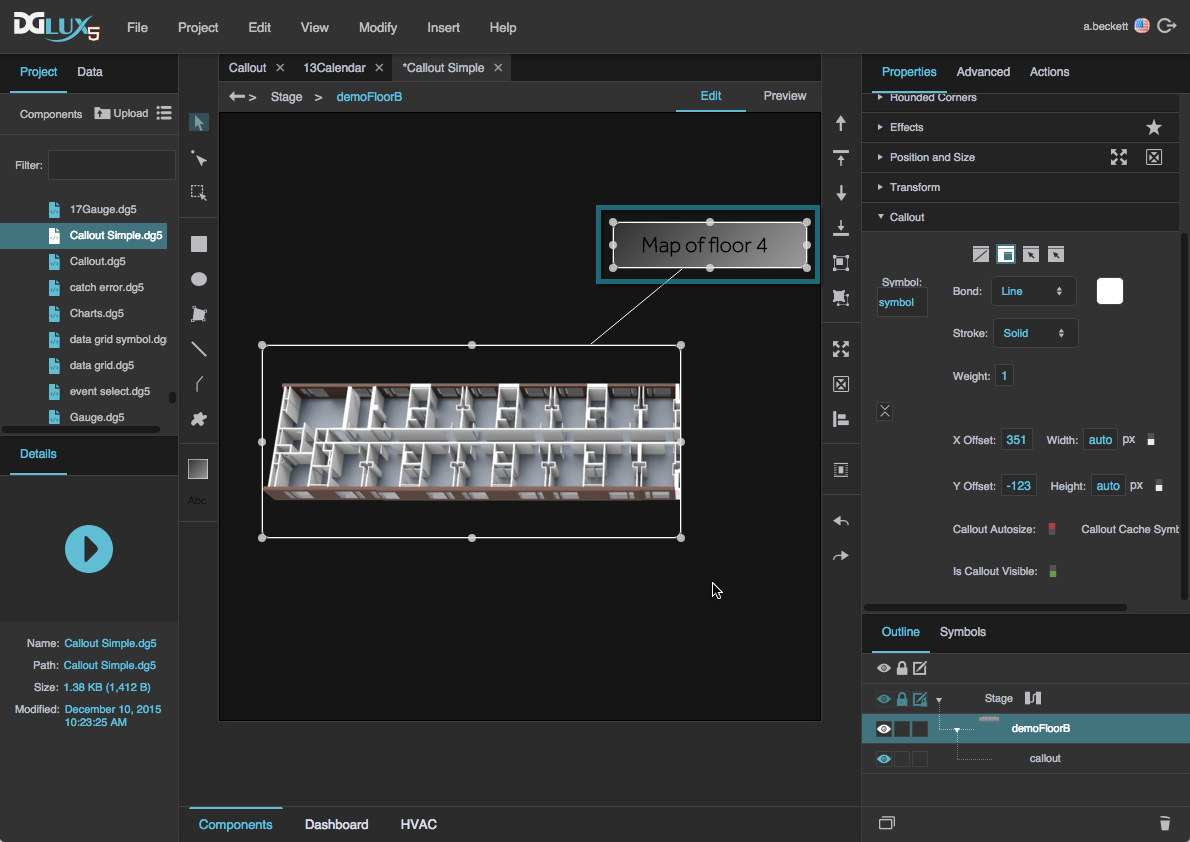
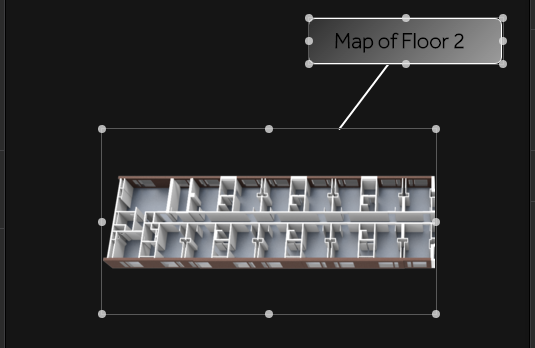
A callout functioning as a static label for an image
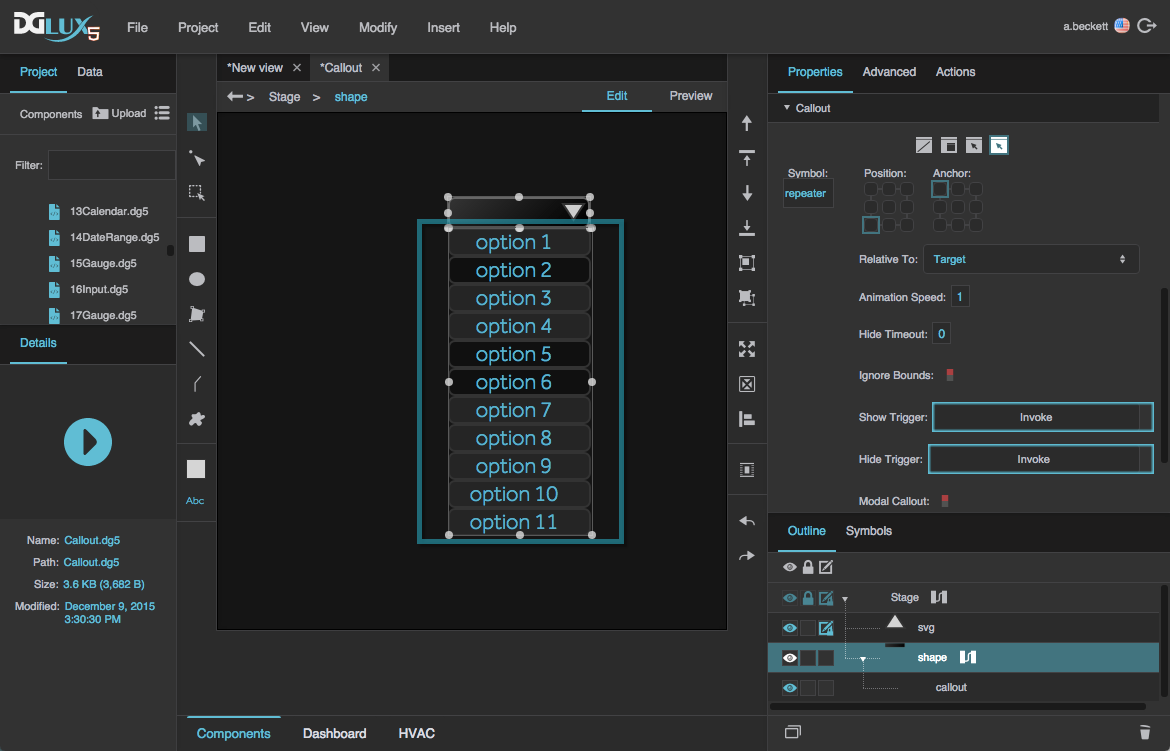
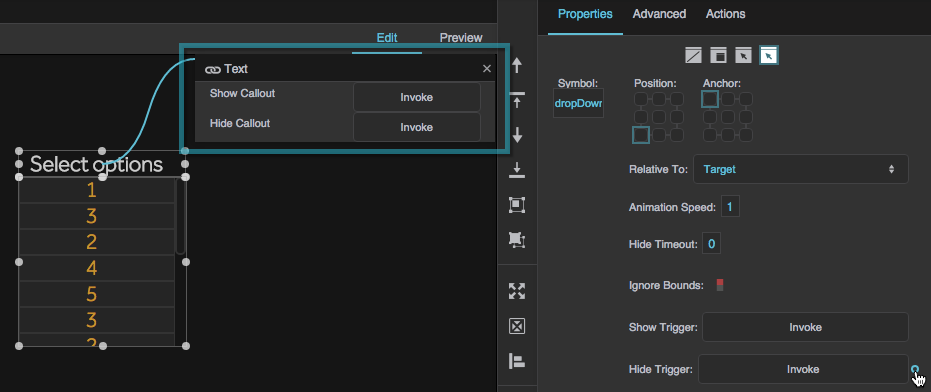
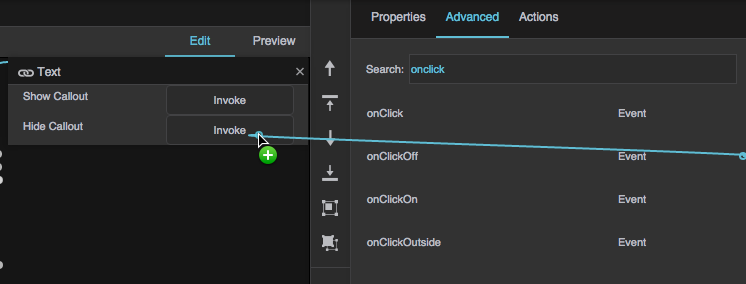
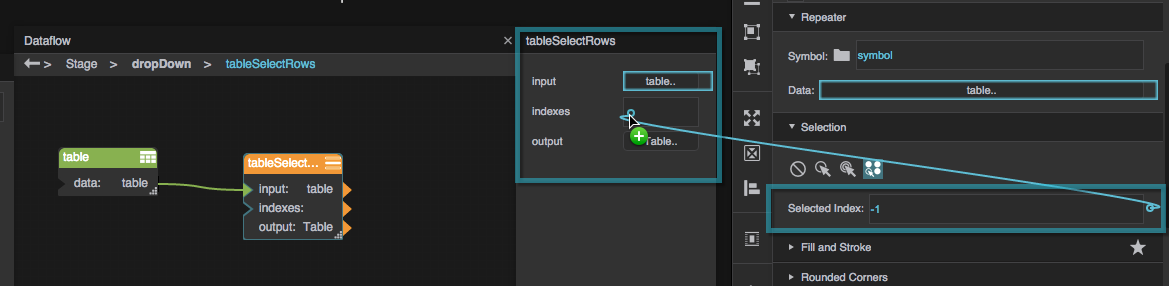
A callout functioning as a drop-down menu that appears when the shape is clicked
Video Tutorial: Introduction to Callouts
Video Tutorial: Custom Triggers with Callouts
Create a Simple Callout with Label Parameter
These steps show you how to create a simple callout that has label text that you can edit in the Property Inspector.
- Create a symbol that represents the callout:
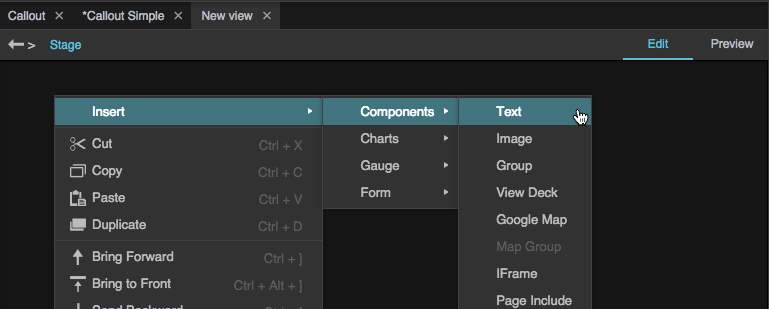
Right-click the Stage in the Document window or Outline, and select Insert > Components > Text.
Set the fill and stroke and text and font properties of the text component.
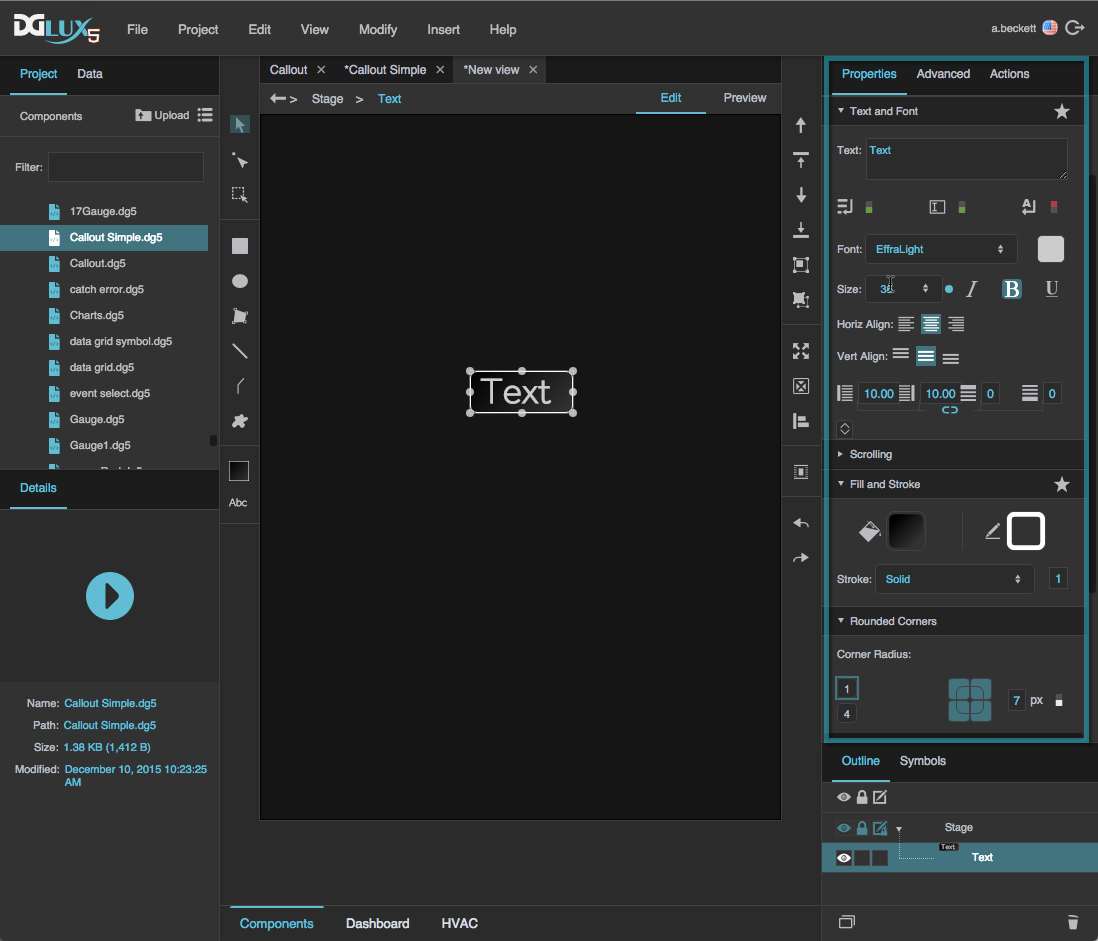
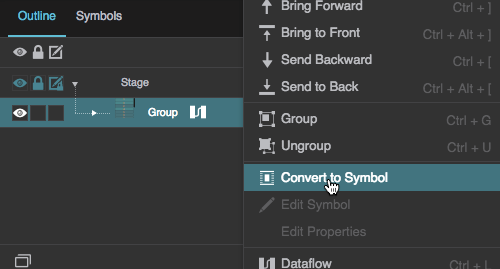
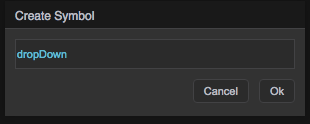
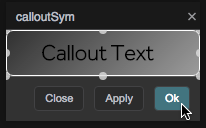
Right-click the text component and select Convert to Symbol.

When prompted, name the symbol
calloutSym.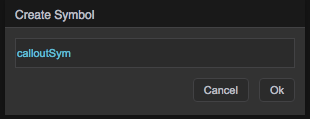
- Create parameters for the symbol:
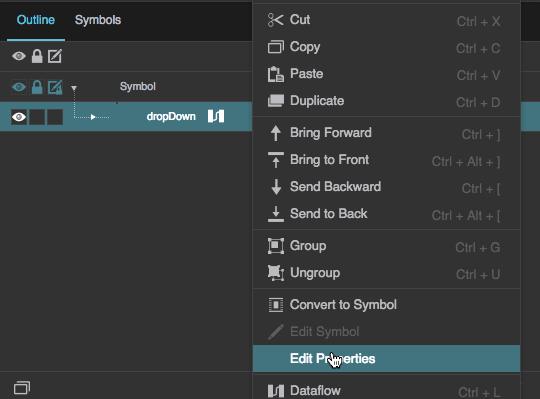
- In the Symbols Panel, right-click calloutSym and select Edit.
- In the Outline, right-click the symbol and select Edit Properties.
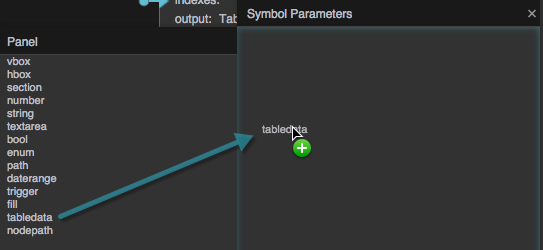
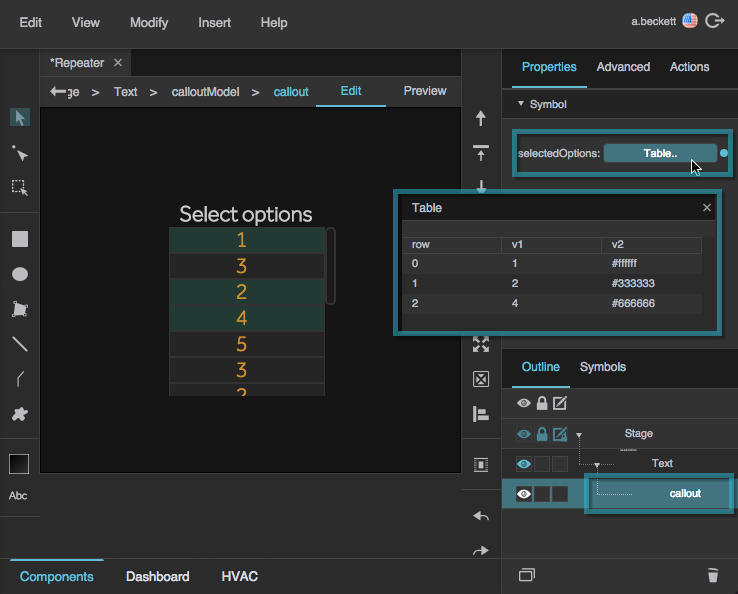
Drag one textarea parameter into the right-hand column of the Symbol Parameters dialog.

Double-click the label of the textarea parameter to rename it
calloutText, and enter a placeholder value.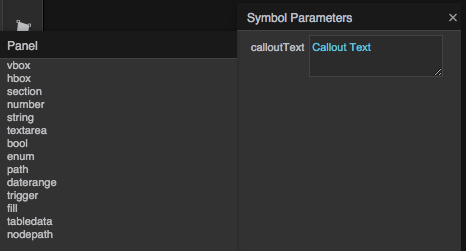
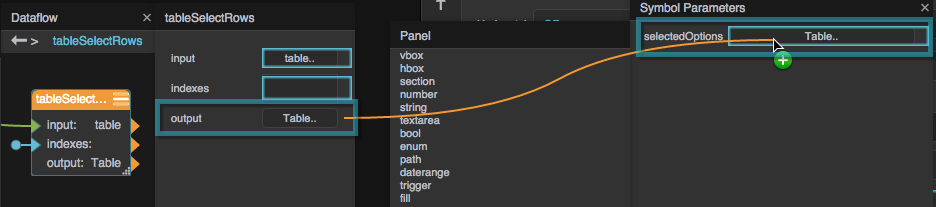
Bind the calloutText parameter to the Text property.
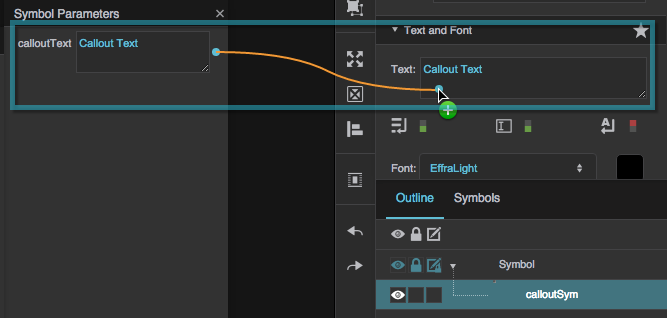
Close the Symbol Parameters dialog, and click OK to exit symbol editing mode.
Right-click the Stage in the Document window or Outline, and select Insert > Components > Image.

With the image component selected in the Outline, for URL, click the folder icon and select an image in your project.

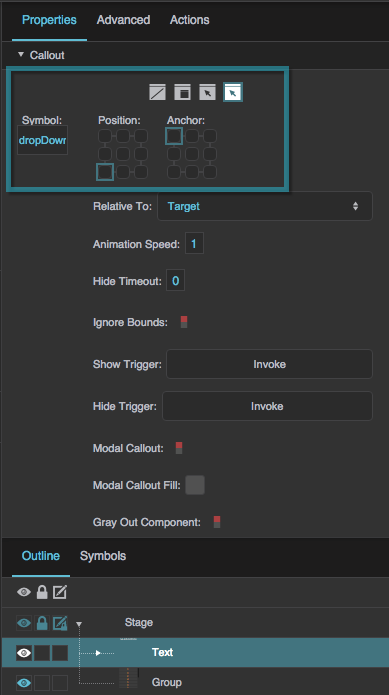
With the image component selected in the Outline, under Callout, click Static.

- Under Callout, for Symbol, type
calloutSym. For Bond, select Line.
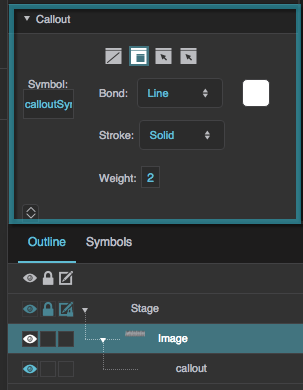
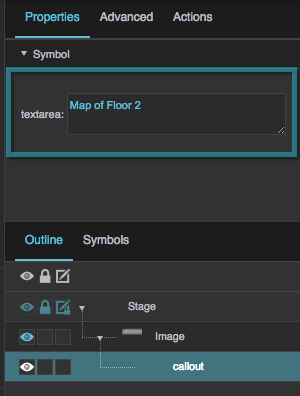
- In the Outline, expand the image and select "callout."
Enter a text value for the callout.
In Edit mode, click the image in the Document window, and then drag the callout to control its placement.