Page Include
The Page Include component enables you to embed other DGLux5 pages in the current page. This feature is useful for creating tabbed navigation.
For a detailed reference of properties that affect Page Includes, see Common Properties and Page Include Properties.
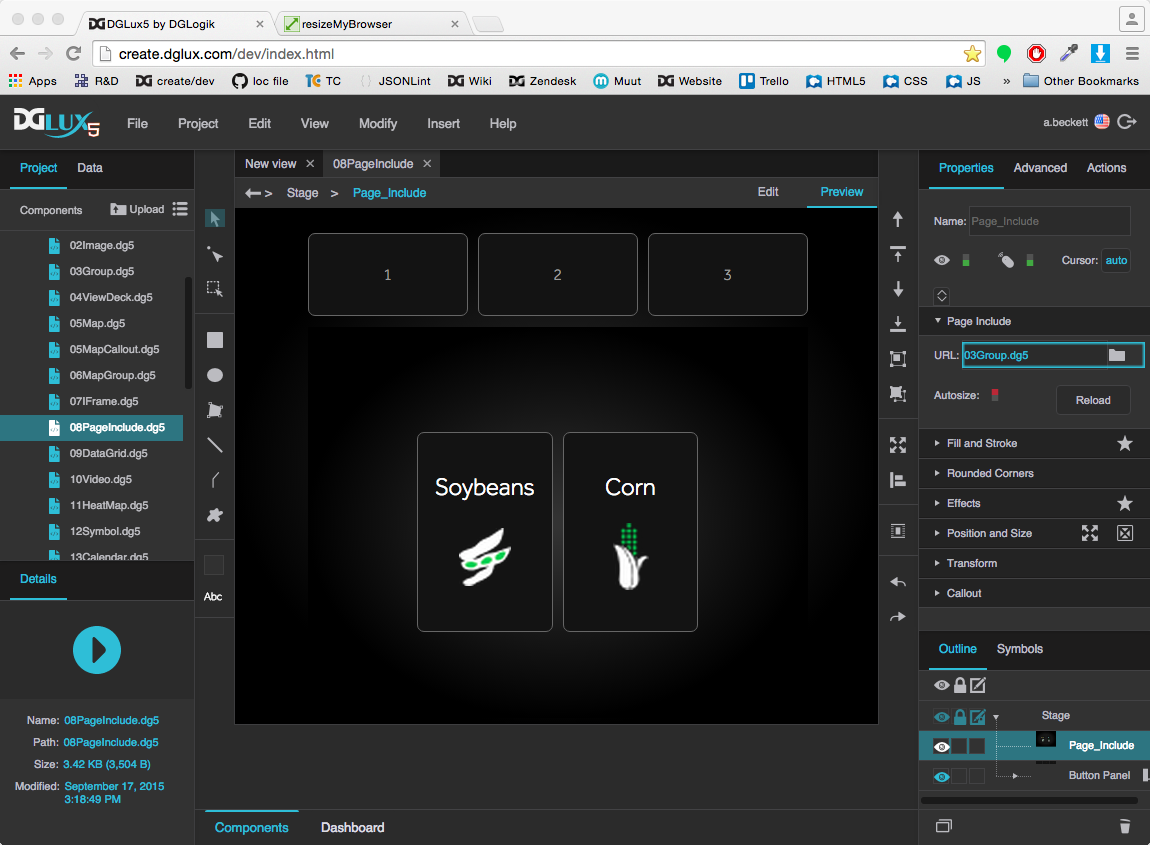
A Page Include component in DGLux5
Video Tutorial: How to Use Page Include for DGLux5 Projects
Create a Page Include with Button Control
You can create a button panel that lets the user determine which .dg5 file is loaded in a Page Include. There are several ways to do this. These steps show you how to achieve this effect using a Case dataflow block. Alternatively, you could create an onClick action for each button, as shown in this video, or you could create a button symbol that holds the URL as one of its parameters.
To use a Case block for Page Include navigation:
- Right-click the Stage in the Outline or Document window, and select Insert > Components > Page Include.
- Create the button panel:
- Right-click the Stage and select Insert > Components > Group.
- In the Property Inspector, set the Layout property of the group to Horizontal or Vertical.
Insert a text component within the group.
This is your first button. Optionally, style your button using properties and actions.
- When your button is styled, select it in the Outline and click
 Duplicate until you have the correct number of buttons.
 - Change the text that appears in each button. Each button should refer to the page that it opens.
- In the Outline, select the group.
- In the Property Inspector, set Selection to
 Single Select.
 - Right-click the Page Include, and select
 Dataflow.
 - In the dataflow window, expand Logic, and add a Case block:
- Drag the Case block to the dataflow window.
- Inside the block, click the
 plus sign until the number of case n properties matches the number of URLs you want.
 - Set op to equals.
- Bind the Selection Index property of the group to the input property of the Case block.
- For each case n property, enter an index number in your group.
- For each then n property, drag the
.dg5file from the Project panel to the then n field to add the path. - For else, enter a default path, or leave it null.
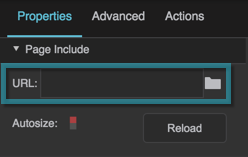
- Bind the output property of the case block to the URL property of the Page Include.
Tip
To quickly open the .dg5 file contained within a Page Include, double-click the Page Include element in the Document window in Edit Mode.
How to Cause User Interaction within a Page Include to Affect the Outer Page
These steps demonstrate how to transfer a value from one page to another by using Project Dataflow.
These steps refer to the two pages as the "source page," meaning the page that contains the value to be transferred, and the "target page," meaning the page that is affected by the source value. Often, the source page is viewed within a Page Include component, and the target page is the page that contains the Page Include component.
- In the Menu bar, select Modify > Project Dataflow.
- Add a String to the Project Dataflow.
In the Project panel, double-click both the source page file and the target page file.
This opens both files in the Document window.
- In the source page, add a text input component.
- With the text input component selected, open the Actions tab, then click
 Add and select Set State.
 - Configure the State block:
- Bind the text input component's value property to the State block's invoke property.
Click the
 plus sign inside the State block.
This adds path 0 and change 0 properties.
- Open Project Dataflow again, if it is not already open.
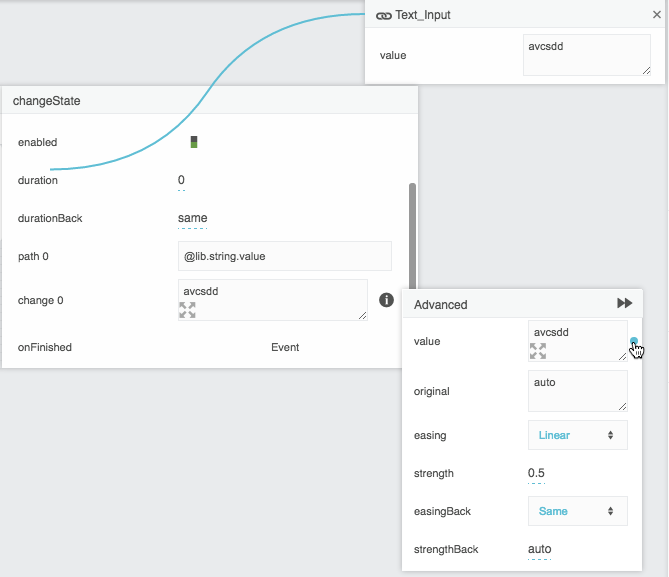
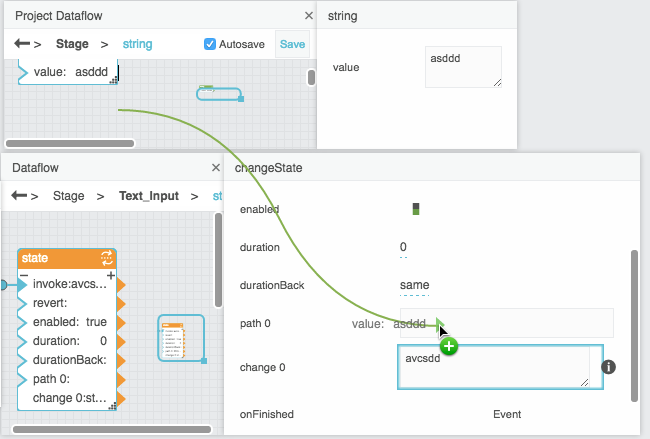
Drag the value property of the String block from Project Dataflow to the path 0 field in the block properties panel for the text input component's State block, as shown in the following image. Do not drag it to the visual block in the dataflow window.
Because you dragged the property to the block properties panel, the path itself was pasted, as shown in the following image.
If a blue rectangle appears around the path 0 property, the value was bound instead, and you need to repeat this step.
- Bind the value property of the text input component to the value field in the small binding pop-up.
- Save the source page and open the target page.
- In the target page, create a Text component.
- Bind the value of the String block from Project Dataflow to the value property of the Text component on the target page.
- Finally, to view the results:
- Create a Page Include component on the target page.
- Set the path of the Page Include to the source page.
In Preview mode, enter text in the text input component.
The value in the text component changes.

 imported layer icon and hover over value until a blue dot appears. Double-click the blue dot.
